Autoflowering Harvest Guide: How to Harvest Autoflowers
Congratulations, friend! Your beautiful Mephisto autoflowers have reached the apex of maturity. After months of caring for them as they grow and mature, the time has finally come and you’ve decided to harvest. Follow along as we walk through the methodology and technique of post-production workflow. In this blog post, we are going to cover harvest workflow; the starting point for harvesting your autoflowers and making sure we have all of our ducks in a row before getting stuck in to the meat of the matter. In part 2, we will be covering workspace preparation, as well as defoliating, drying, and subsequently manicuring and preparing your plants for the trimming and curing process, and in part 3 the process of dry trimming and curing your autoflower harvest. So let’s get down to it!

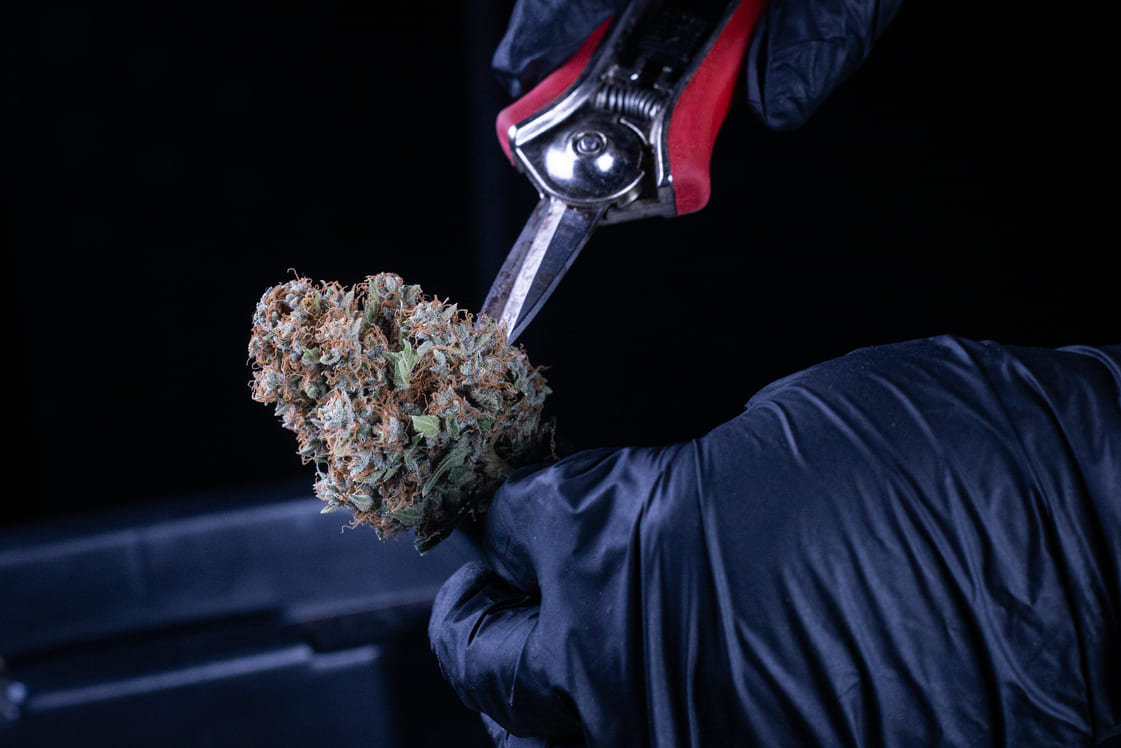
Sheers, trimmers, clippers. An essential tool of the autoflower harvest.
Harvest Workflow
Think of your harvest workflow as the action plan that you’ll use to take your living plants and turn them into a usable final product. We all have different gardens, with different equipment, genetics and intentions. When it comes to establishing a harvest workflow that best suits your individual needs, you’ll want to first consider these five parameters:
1. Autoflower Harvest Intention:
What do you intend on doing with your autoflowers after they have been harvested? Establishing an end goal for your final product is the first step in dialing in a system that will work for you. For a majority of first time growers, the intent will be to dry and cure the flower for semi-long-term storage with the intent of smoking and/or vaping the final product. This is the standard operating procedure (SOP) that we will cover in more detail here. However, alternative SOPs will better suit those of you wishing to turn the majority of your product into concentrates or edibles. We will briefly cover methods suited for those processes as well.
2. Grow Environment:
Now that we’ve established intent (smokeable flower), the next step is building out a workflow that will include drying, manicuring, and curing your final product. For these critical steps, considering environmental parameters is paramount. You’ll want to consider where you live, your local climate, as well as the time of the year. These macro variables will play an important role in drawing up an optimal workflow. Properly drying autoflowers is all about maintaining an optimal microclimate conducive to a slow and even exodus of moisture and chlorophyll from the plants. This can be achieved by designating an area in your grow to the drying process. Having a dedicated space will allow you to better control microenvironmental parameters.

Boosting your productivity is key.
3. Equipment you'll need to harvest your autoflower crop:
As with all things in the hobby of growing autoflowers at home, the equipment you have on hand will greatly impact your harvest workflow. There is a never-ending barrage of available tools and trinkets out there on the market which can assist you in absolutely every facet of this process. This includes everything from fancy electronic sheers, to whole trim machines that manicure and buck the flower for you. There is even technology available now that will completely dry and cure your entire harvest in only a few days. For beginners, focus on making sure you have a dedicated drying space with proper ventilation and filtration, indirect airflow, and a hygrometer for measuring temperature and humidity. (ideally 60%/60f)
The fundamental tools you’ll need to harvest include:
- The most comfortable pair of sheers you can find, two pairs preferably. This way you can switch back and forth when trimming.
- Some nitrile or latex gloves. This helps keep the sticky trichomes off your fingers, as well as the oils and debris on your hands from those freshly manicured buds.
- A shallow cup of 91% rubbing alcohol for cleaning and storing your sheers.
- Hanging tools including cordage, string, clothespins, and/or coat hangers for drying the plants. I highly recommend you hang dry your plants as opposed to using racks as the airflow and protection of a hanging plant is unmatched.
- Labelled storage containers for both your manicured buds as well as the leftover trim. Mason jars work great for this, as well as other market options such as our Mephisto Grove Bags.
- A clean workspace for trimming, bucking, and jarring the flower. Any roomy tabletop surface will do. You’ll want to consider using parchment paper to help keep everything sanitary and stick-free. Trim Bins are a product I highly recommend as an upgraded workspace. Pyrex casserole dishes also work great as an inexpensive lap replacement.
-
Advanced Tech for Large Harvests- There are some pretty neat tools and equipment available on the market that you can add to your harvest arsenal to help make the job quicker and easier. If you are planning on harvesting a larger garden and need some extra assistance, trimming machines, handheld electronic sheers, and tumblers can be a lifesaver. Spin Pros, for example, are a small but powerful hand operated trimming machine designed to manicure large quantities of harvested buds at a time. Where trimming ounces could take hours, technology like this can reduce the workflow to mere minutes!
4. Autoflower Genetics:
We have a wide variety of Mephisto autoflowers in our library, all containing a varying degree of characteristics that have the potential to impact your harvest workflow. For example, plants like Fugue State and HubbaBubbaHaze will finish tall and will yield heavy. Trimming and jarring these monsters are long-term projects. However, others like Sour Crack and Strawberry Nuggets will finish more squat and with a higher bud to leaf ratio, often making for a less labor-intensive post-harvest experience. Varieties like our newly released Iced 'n' Baked yield highly dense buds that require extra care in the dry and cure phase. Conversely, a selection like Fantasmo Express will dump a barrel of fluffier frost-covered nugs, often needing to go into cure sooner. All of these variables can affect how you break down, use, and store your final product. If this is your first time running one of our lines, we highly recommend checking out our “strain behavior and structure” guides that accompany each of our selections. This will give you a general idea of what to expect with each varietal as it comes time to harvest.
5. Your Personal Grow Style
How you choose to grow will heavily impact your post harvest workflow. Every decision you make during the cycle of your plants will equate to an outcome as you harvest them and prepare them for storage. One element of this is controlling how many plants you harvest at a given time. You'll have far more work to do when harvesting 12 plants at once versus harvesting 4 at a time over several weeks. There is a lot to be said when it comes to planning ahead for your harvests in order to avoid an overabundance of work. Another work saving tip: Training and pruning your plants during key points of the grow cycle have the potential to decrease post harvest workloads considerably. For instance, many autoflower growers defoliate periodically over the last several weeks of their plants' growth cycle in order to avoid the work come harvest day. These types of decisions during your grow cycle can pay off in dividends come harvest.

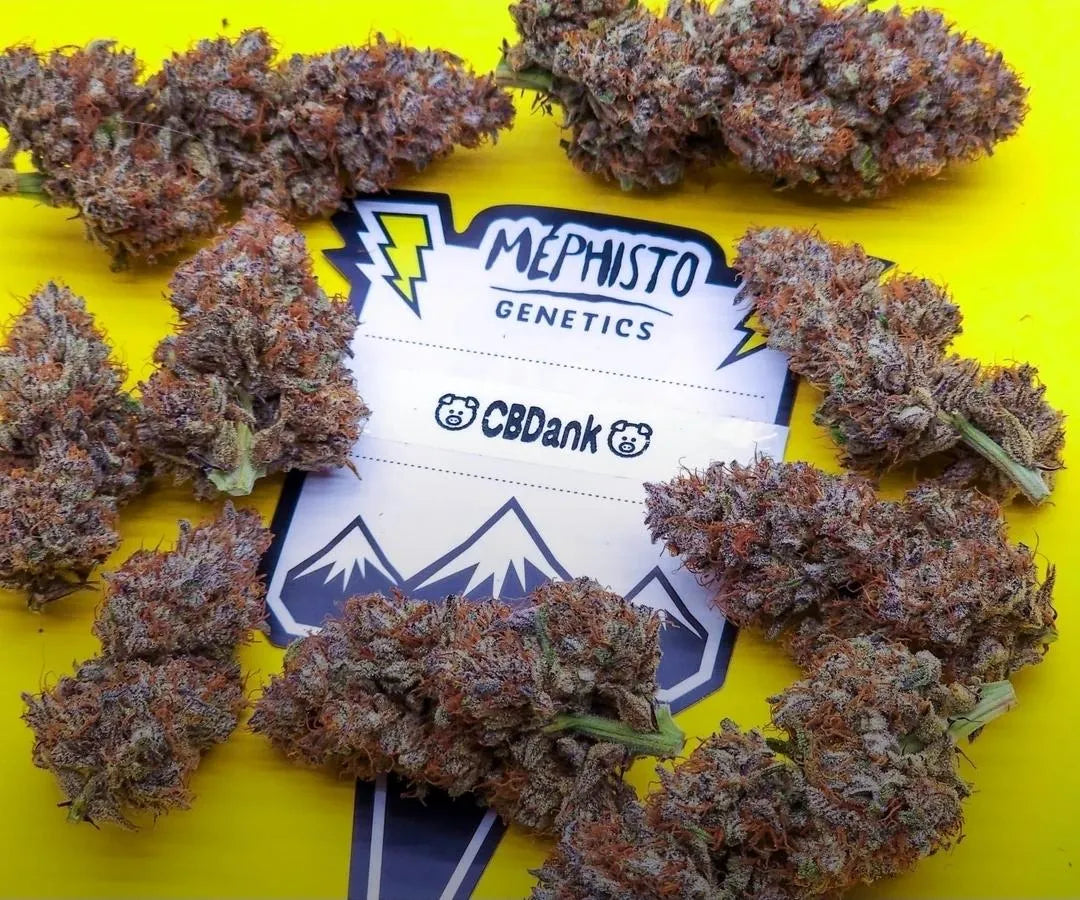
A beautifully trimmed nug. The end goal on our How to Harvest Autoflowers series.
So that’s a wrap for Part 1, hopefully we all now have a better understanding of how our intention and our grow affect how we’ll harvest our crop and of the equipment we’ll be using in parts 2 & 3 of this 3 part series. For now, thanks for reading and we’ll catch you in the next part!
Jimbo, signing out!
related blogs.
Check out these other blog articles.


